Home | Brush Store | Twitter | Tumblr | Blog
A quick way to install custom brushes in Clip Studio Paint
Clip Studio Paint brush files have the file extension .sut (meaning “sub tool”, which is what “brushes” are called in CSP).
How to install brushes
There are a number of ways to install brushes. But you usually download multiple brushes in a pack, so you usually want to install multiple brushes at the same time.
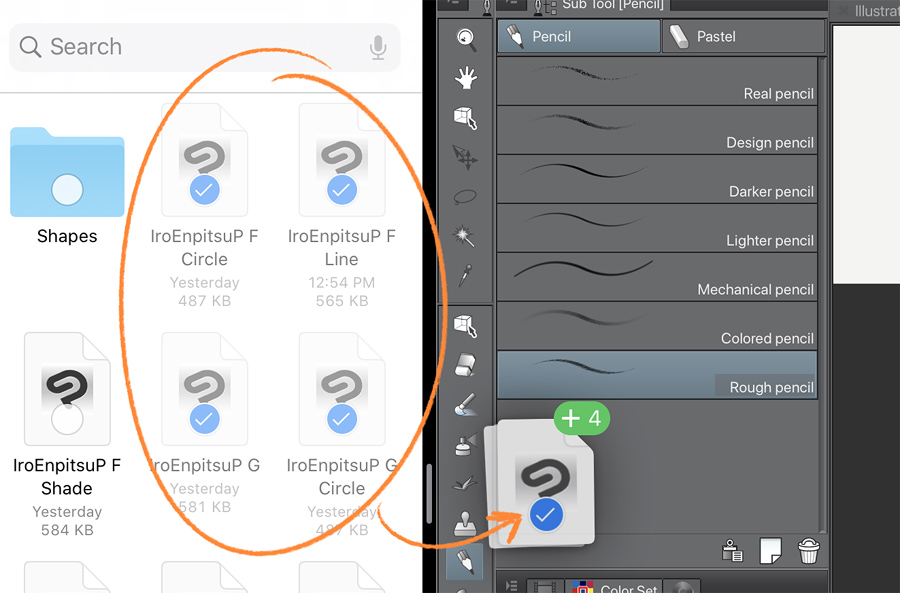
The fastest way to install multiple brushes is to select them in your file manager (File Explorer, Finder, Files App), and drag them into Clip Studio Paint’s [Sub Tool] Palette.
The [Sub Tool] palette is the palette that shows the list of brushes under a tool.
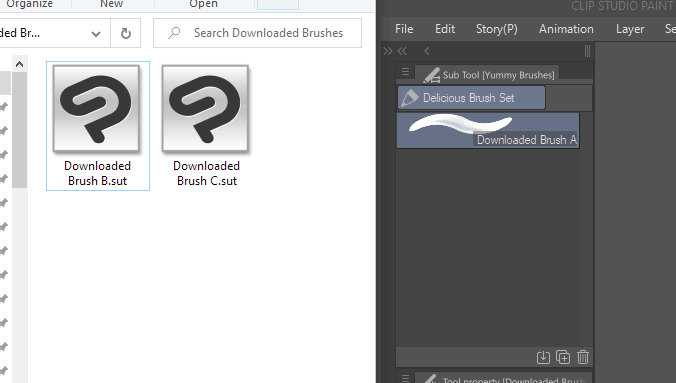
Drag-and-drop brushes into the [Sub Tool] palette to install.
Steps
- Make sure your brush files are visible in your file manager.
- Make sure Clip Studio Paint is open. And the [Sub Tool] palette is visible.
- In Clip Studio Paint, select the tool you want to import them under.
- In your file manager, select the downloaded brush/sub tool files.
- Drag them into the [Sub tool] palette inside Clip Studio Paint.
And that’s it! You’ll see the brushes added to the list and you can use them like your other brushes.
Alternatively: There’s also an [Import sub tool…] menu option, which only allows you to import one brush at a time.
Brushes from Clip Studio Assets
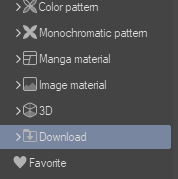
The official Clip Studio Assets site hosts many paid and free brushes that you can download. Brushes you download from the Assets site get automatically downloaded into your Clip Studio Paint Materials library instead of downloaded as files.
After downloading brushes from the Assets site, you need to browse your Materials library to find the brushes/sub tools you downloaded. Then just drag them to the [Sub Tool] pallete.
Clip Studio Paint lets you open multiple [Materials] windows, so just open one (go to Window>Material>choose any of the options) and navigate to where the downloaded brushes are. Normally, you will find them in the Download folder.
Importing brushes to Clip Studio Paint for iOS
The iOS Files app has the ability to unzip files.
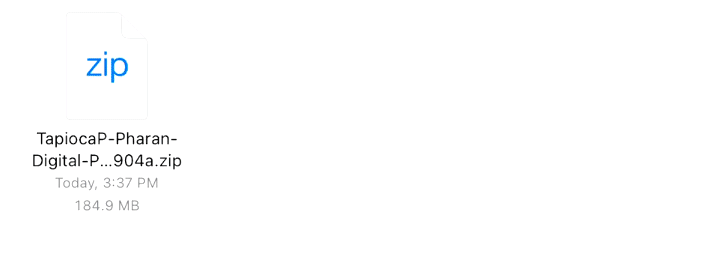
Tapping the zip file in the iOS Files app will extract the files in that folder.
You can use iPadOS Split View or Slide Over to drag the brushes from the Files app to the Clip Studio Paint app.
If the brushes are not inside a zip file/compressed folder, brushes can be imported via drag-and-drop from apps like Google Drive or Dropbox.
However, those apps can sometimes push out updates that make this not work. If this happens, you can try to move those files onto your iPad storage first, and then use the Files app to drag the files from the folder and into the [Sub tools] palette.